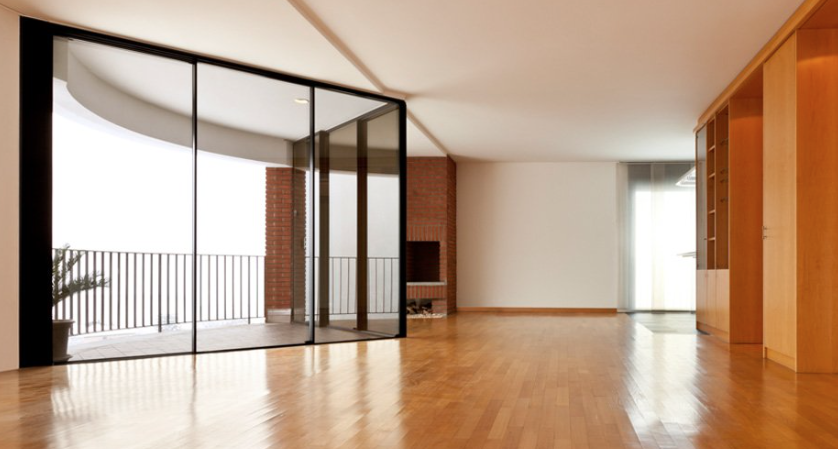
Timber floors are popular because they give a home a natural look,, and blend well with furniture. However, with time, wooden floors get dull and you need to sand them to restore their appearance. Unfortunately, if you don’t have experience doing Timber Floor sanding, you are likely to do it wrong. That’s why we wrote this guide to help you in this important process of restoring your wooden floor.
Step 1: Calculate Floor Area
You need to know how much floor area you are going to sand so that you can buy just the right amount of floor coating. To do that, just measure each room’s length and width, and then multiply the two to get the floor area.
Do that for every room, and add them up to get the total floor area you are going to sand. If you have said a total floor area of 21 square meters, then you will need to buy about 6 liters of wooden floor coating.
Step 2: Get Your Equipment Ready
 Make sure you have all the necessary equipment before you get started, and read all the instructions. That’s important to avoid doing a substandard job, and also for safety reasons. Keep all the tools and material away from children at all times. You should have at least the following equipment for this project.
- Garbage bags
- Vacuum cleaner
- Scraper
- Putty and Putty Knife
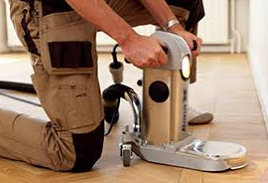
- Orbital sander
- Belt sander and drum
- Safety glasses, dust mask, and ear plugs.
- Sanding belts and paper
- Punch set and a hammer
- Edging sander
- Pinch bars
Step 3: Safety Precautions
Once you have established you have all the right tools; you need to take some safety precautions. That’s because floor sanding can cause accidents, and injure you, or those you love, or even someone who happens to be there at the wrong time. Some of the things you can do to sand your floor safely are:
- Follow any safety precautions that came with your sanding equipment.
- Anytime when you stop using the sanding equipment, or when changing sanding belts, you must unplug it.
- Wear earplugs, safety glasses, and of course a dust mask.
- You shouldn’t let any untrained person or children try to use the sanding machine.
- All sawdust must be stored far away from home to avoid causing accidental fires.
- Open all the windows when coating, and if not possible, turn ON the air conditioner until you are done coating the floor.
Step 4: Get the Rooms Ready
The next step is to prepare the rooms for sanding, to work without interruptions. To do that, you will have to remove floor coverings and carpets. You should also remove faster such as staples and tacks, and be careful not to damage the floor while doing that.
You also need to clean the floor to remove grease, wax, glues, and even oils. These sticky substances can easily clog the sanding belt or paper.
If there any nails, the punch them down by 3mm but don’t putty them yet. If you notice any floorboards that are warped, or damaged in any way, now is the time to replace them. If you aren’t sure about how to do it, then you should call the professional and let them do it for you.
Step 5: How to Sand A Wooden Floor
 Now the floor is ready for sanding, and you should start sanding low visibility areas. Be careful when sanding close to skirting boards, and if you notice dark stains that go deep into the wood, simply replace the affected board. You will do a fine and more appealing job that way. While sanding, don’t skip any sanding stage, each sand grit is designed to remove a certain amount of wood, and create a certain level of smoothness.
Start with a 40 grit grain and finish with a 150 grit paper, ensuring you vacuum before moving on to the next finer grit. When you want to stop the sanding machine, tilt it so that it rests on its rollers first. Moreover, don’t turn it around, or try to stop it while the sanding belt or paper is still in contact with the floor. First, tilt on its rollers, and then turn it around and continue sanding, or change the sandpaper, or turn it OFF. Change the sandpaper as soon as it’s clogged to avoid creating burns on the floor.
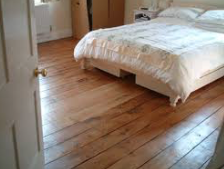
After you are done sanding, vacuum away all the dust before you can start applying the wooden floor coating. Apply thin layers of coatings to avoid creating bubbles, and start from the wall of the innermost room. Work your way outwards. Repeat after every coat. You should give the floor 24 hours to dry before you step on it with your socks. Step on it with shoes after a week has elapsed, and don’t also use cleaning products on it for a week after applying the coat.
If you aren’t sure you can do this, just call your timber floor sanding professional in Perth near you, and we will do the job perfectly for you www.perthflooringsolutions.com.au/floor-sanding-polishing-service.

 ">
">
 ">
">
 ">
">